
Halloween is the one time of year when your nails are allowed to be a little dramatic. Nobody blinks at black tips, blood drips, or a tiny ghost on your ring finger. It is fun, it is low pressure, and it is a great excuse to try nail art you would never wear in March.
The problem is that most Halloween nail designs you see online look amazing in photos and impossible in real life. Long stiletto nails, hand-painted skulls, and five colors on one nail. Cute, but not helpful if you have short nails and twenty minutes on a Sunday night.
This guide fixes that. You will find Halloween nail ideas for every taste, from cute Halloween nails to properly spooky ones. Each design comes with a quick note on how to do it, what you need, and whether it works on short nails. There are also sections on black polish, timing, removal, and budget tools that most nail articles skip.
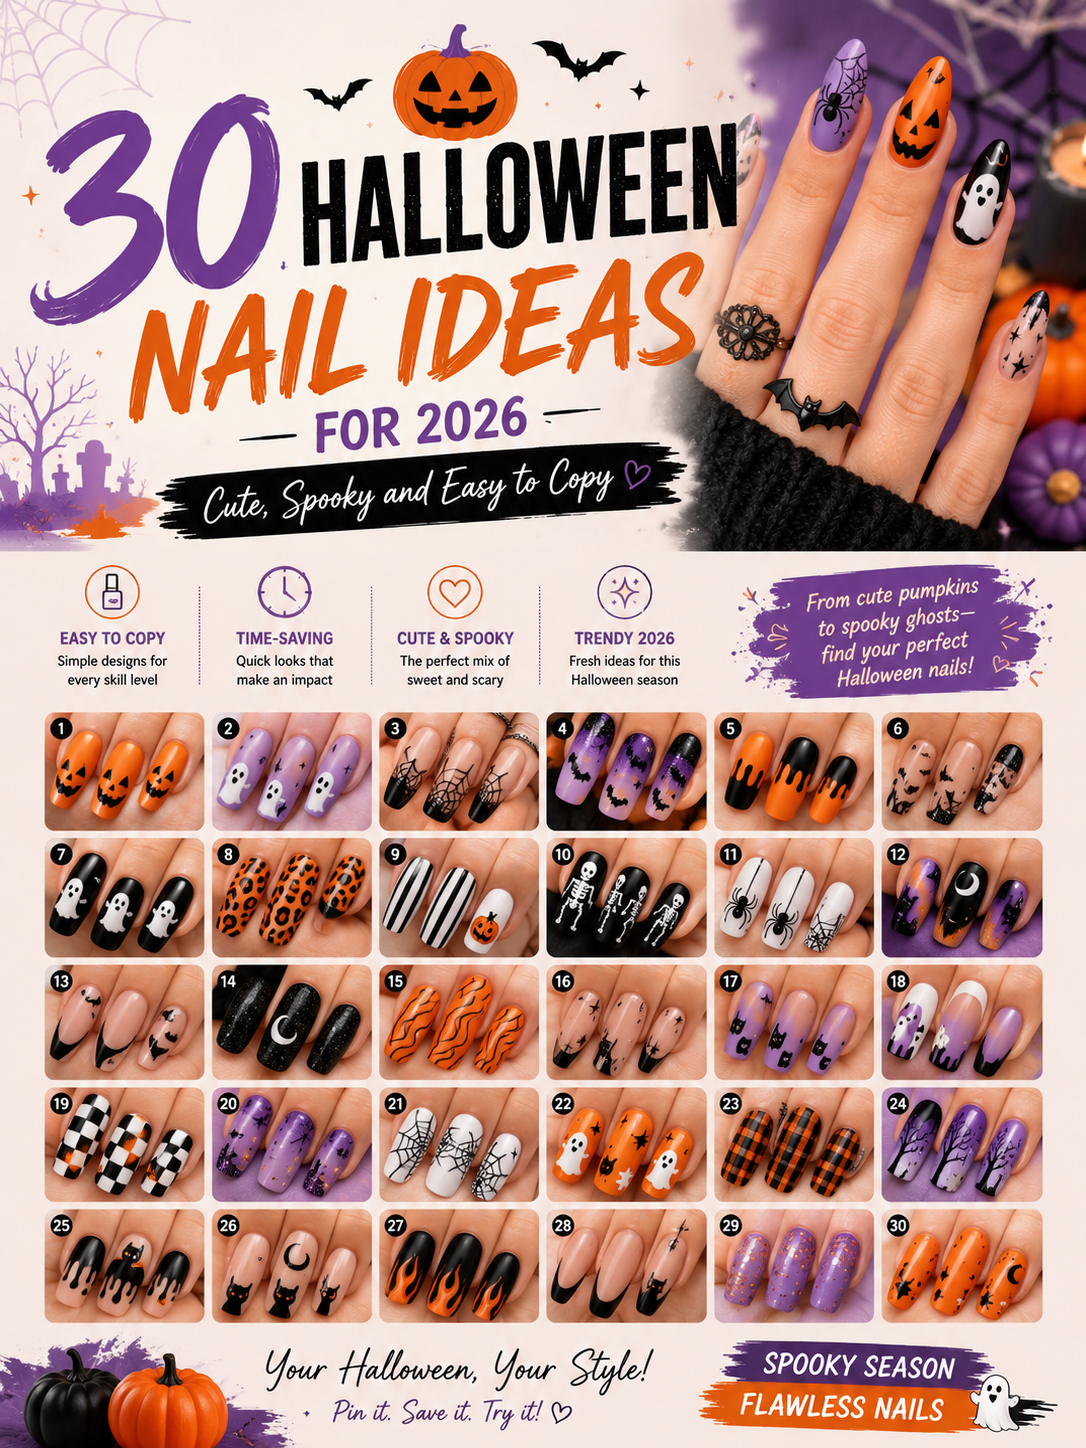
Halloween 2026 falls on a Saturday, which means more parties and more photos. Your nails are going to be in a lot of them. Let us make sure they look good.
What Makes a Good Halloween Nail Design
Before jumping into ideas, it helps to know what actually works.
A good Halloween manicure usually has three things:
- One clear theme. Ghosts, pumpkins, witches, spiders, and blood. Pick one and stick with it. Mixing five themes on ten nails looks messy.
- A limited color palette. Black plus one or two colors is the safest formula. Orange, white, purple, deep red, and lime green all pair well with black.
- One or two accent nails. You do not need art on every finger. Two detailed nails and eight plain ones look more polished than ten busy ones.
Keep those rules in mind, and almost any idea below will look good.
Cute Halloween Nails
Not everyone wants scary. Cute Halloween nails are playful, soft, and still totally on theme. These are great for work, school, or anyone who likes the season but not the gore.
Little Ghosts on a Nude Base
Paint all nails a soft nude or milky pink. On one or two nails, dot a small white ghost shape with a thin brush or a toothpick. Add two black dots for eyes. Done.
Works on short nails: Yes. Ghosts are tiny by nature.
Pastel Pumpkins
Instead of bright orange, use a muted peach or dusty orange. Paint a round pumpkin on the ring finger with a small green stem. Keep the other nails a pale cream color.
This one photographs really well and does not scream Halloween from across the room.
Candy Corn Tips
Paint a French tip in three stripes: white at the very tip, orange in the middle, and yellow at the base. Striping tape helps keep the lines clean.
Works on short nails: Yes, but keep the stripes thin.
Smiling Bats
A black bat shape with a tiny white smile is one of the easiest cute designs. Use a small dotting tool for the body and two quick strokes for the wings.
Cat Ears French Tip
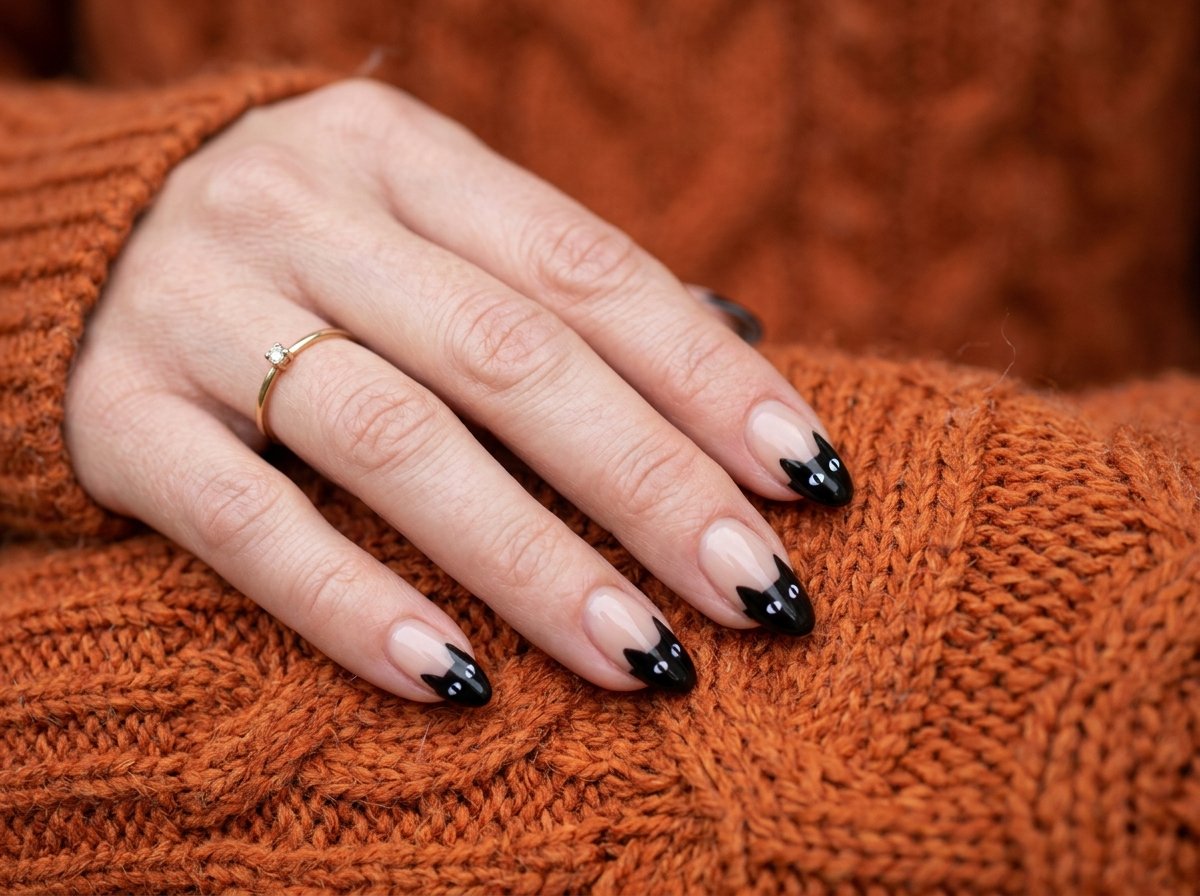
Paint a black French tip, then add two small triangles at the top corners so it looks like cat ears. Two white dots become the eyes. This is one of the most requested cute Halloween nails at salons every year.
Spooky Halloween Nails
If you want people to actually look twice, go spooky. These designs lean dark, dramatic, and a little creepy.
Blood Drip Nails
Paint nails white, nude, or black. Then, using deep red polish and a thin brush, drag lines down from the cuticle so they look like drips. Let a few drips be longer than others so it looks natural. A glossy top coat makes the red look wet.
Works on short nails: Yes. Short drips look just as good.
Spider Web Nails
Paint a black base. With white or silver polish and a very thin brush, draw three or four lines out from one corner of the nail, then connect them with curved lines. One web on the ring finger is enough.
Glow in the Dark Skulls
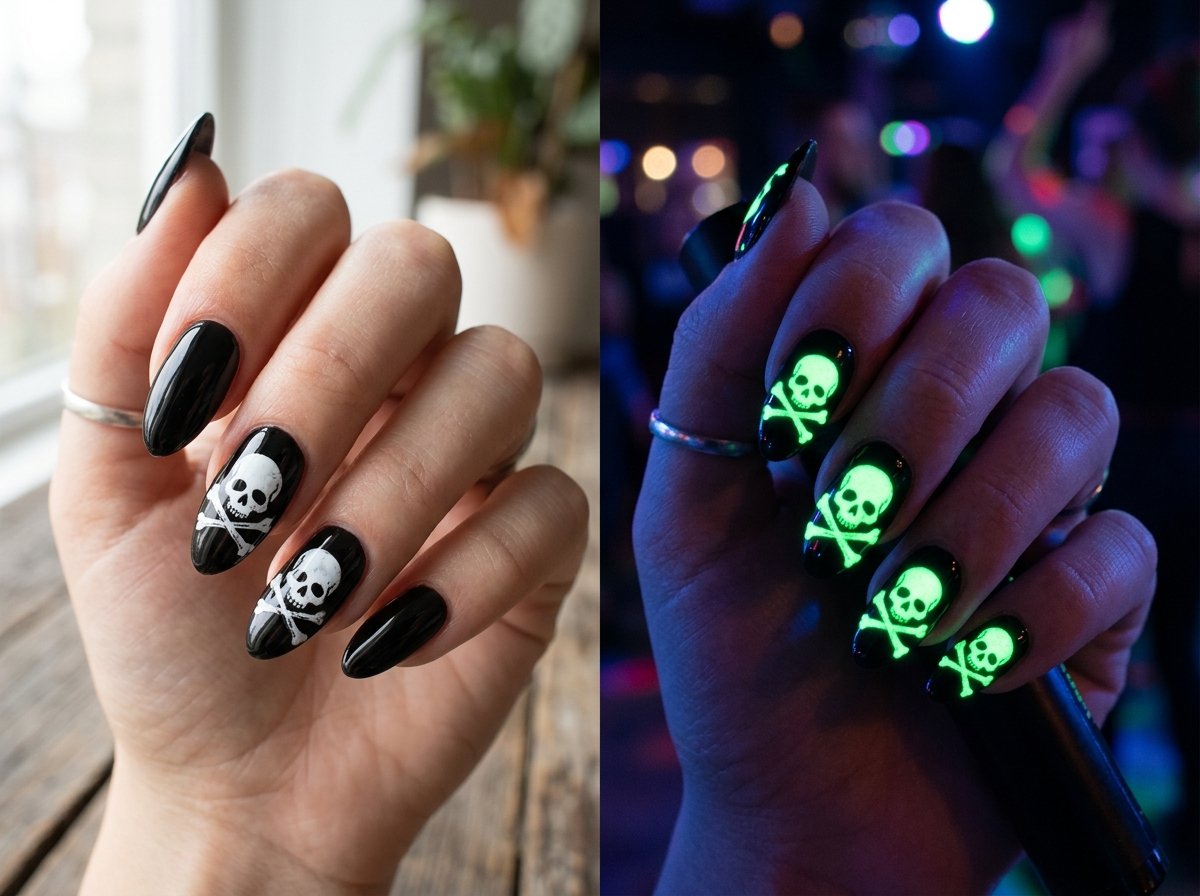
Use a glow-in-the-dark polish as your base or top coat. Paint a small white skull on one nail. In daylight it looks like normal nail art. At a party with dim lights, it glows. People always ask about these.
Cracked Black Nails
Paint two coats of black, then apply a crackle top coat. It splits into a shattered pattern as it dries. Zero skill needed, very dramatic result.
Eyeball Accent Nail
Paint a white base, add a colored iris with a dotting tool, a black pupil, and a few thin red veins around the edge. Creepy and surprisingly simple once you break it into steps.
Simple Halloween Nails for Beginners
You do not need to be good at nail art to have simple Halloween nails. These take five to fifteen minutes and use one or two colors.
- Orange and black alternating. Paint every other nail black, the rest orange. That is it.
- Black French tips. Classic, sharp, and works with any outfit.
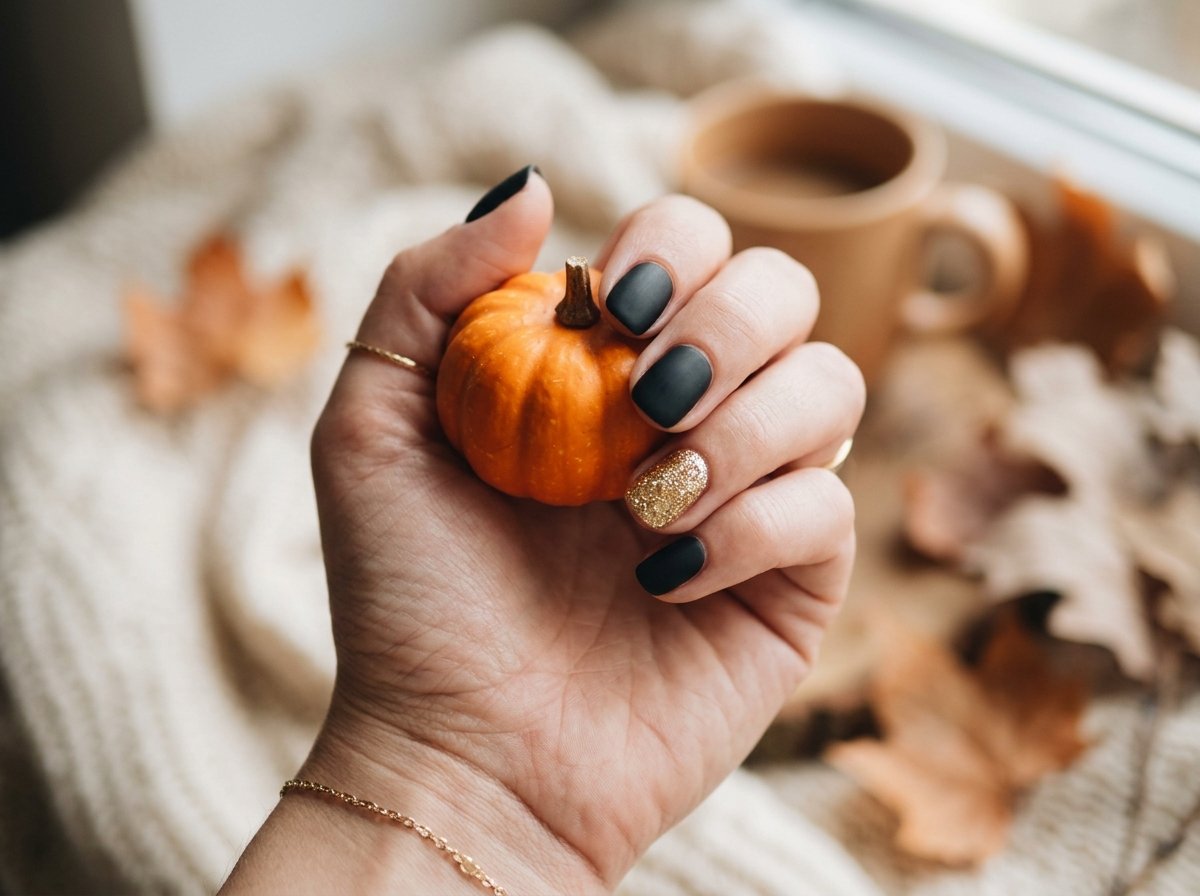
- Matte black with one glitter nail. A black matte top coat plus an orange or gold glitter accent.
- Half moon in orange. Paint nails black and add a small orange curve at the base with a hole reinforcement sticker as a guide.
- Purple and black ombre. Sponge purple over black at the tips and blend.
- One tiny spider. Black base, one dot for the body, eight short legs. Only on one nail.
If you can paint your nails, you can do all of these.
Black Halloween Nails
Black is the backbone of almost every Halloween manicure, but it also causes the most complaints. It stains, it shows every streak, and it chips at the tips fast.
Here is how to get black Halloween nails that actually look good.
Choose the Right Black Polish
Not all Blacks are equal. Some are thin and need three coats. Some dry gray or purple in the light. A good black should be opaque in two coats and dry to a true black.
OPI Nail Lacquer in Black Onyx is a reliable pick that many nail techs keep on hand. It is available on Amazon, covers well in two coats, and the brush is wide enough to avoid streaks. If you want a gel option, the Beetles Gel Polish Halloween sets on Amazon usually include a solid black plus orange, purple, and a glow shade, which covers most designs in this article.

OPI Nail Lacquer Classic Nail Polish
Always Use a Base Coat
Black pigment stains nails yellow. A clear base coat stops that. Do not skip it.
Wrap the Tips
Run the brush along the free edge of the nail on each coat. This seals the tip and slows chipping, which is very visible with black.
Try Matte or Glossy.
Matte black looks velvety and modern. Glossy black looks sharp and classic. You can also do a mix: a matte base with a glossy design on top, like a glossy spiderweb on matte black. It looks expensive and costs nothing extra.
Black Color Combos That Work
- Black and orange (classic)
- Black and white (clean and graphic)
- Black and deep red (gothic)
- Black and lime green (witchy)
- Black and gold (glam)
- Black and lilac (soft spooky)
Short Halloween Nail Designs
This is the section most articles skip, and it matters. Short nails are what most women actually have. The good news is that short Halloween nail designs often look neater than long ones because there is less space to mess up.
Tips for short nails:
- Go simple on each nail. One shape per nail, not a whole scene.
- Use vertical designs. Drips, stripes, and lines make short nails look longer.
- Skip heavy 3D charms. They look bulky on short nails and catch on everything.
- Use accent nails. Two detailed nails, eight solid ones.
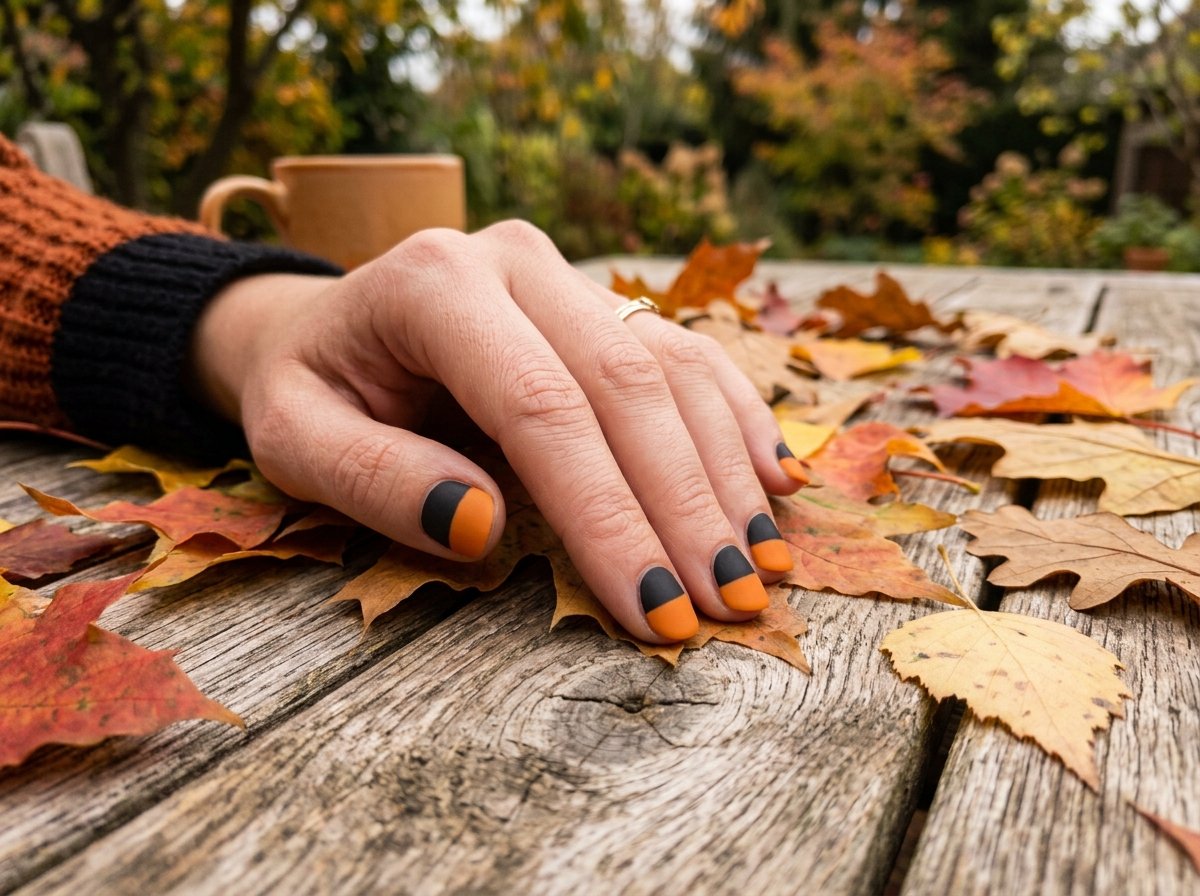
Best short Halloween nail designs:
- Micro French tips in orange or black
- One tiny ghost on a nude base
- Black nails with a single white dot line down the center
- Half black, half orange split down the middle
- Blood drips that only go halfway down the nail
- Tiny bat silhouette on the thumb only
Short square or squoval shapes work best for these. Round nails are also fine. Avoid pointed shapes on short nails since the tips are too small to shape well.
Halloween Nails for Women Who Want Something Classy
Halloween nails for women do not have to look like a costume. If you work in an office or just prefer a polished look, these ideas keep it elegant.
- Deep burgundy with a matte finish. Reads as “autumn,” hints at vampire.
- Black with a thin gold line at the cuticle. Subtle and sharp.
- Nude nails with one black lace design. Lace stamps look like a delicate spider web.
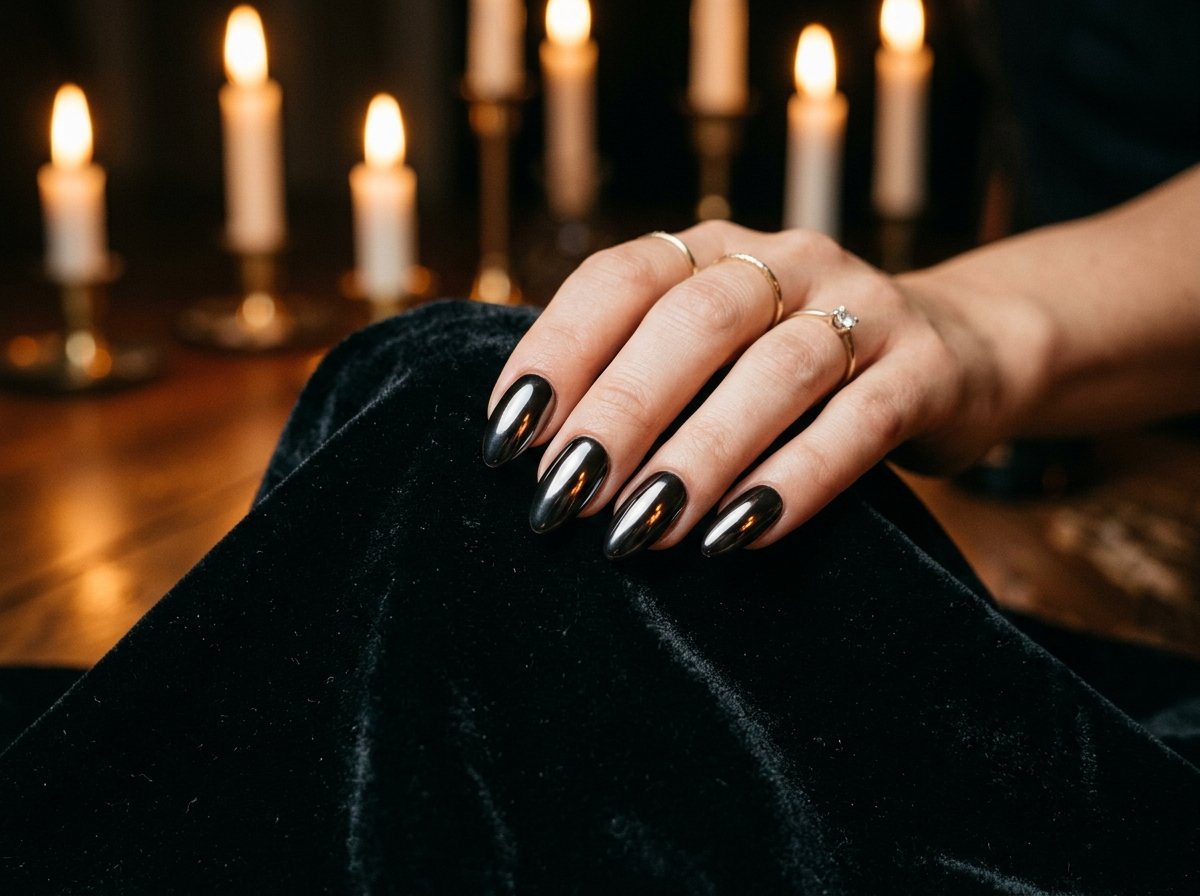
- Chrome black. Black polish with a mirror chrome powder rubbed on top. Very 2026, very grown up.
- Dark green with gold flakes. Witchy without being obvious.
Any of these can carry you through the whole month, not just one night.
Halloween Nail Art Tools That Make It Easy
You do not need a full kit. Three or four cheap tools cover almost every design here.
- Dotting tool. For eyes, spots, spider bodies, and pumpkin shapes. A bobby pin works in a pinch.
- Thin liner brush. For webs, drips, and outlines. A size 00 art brush from a craft store works.
- Striping tape. For clean French tips and candy corn lines.
- Stamping plates. If you want detailed skulls, bats, or webs without painting them, stamping is the answer.
The Born Pretty Halloween nail stamping plate set on Amazon is a popular budget option. You paint a design on the metal plate, scrape it, pick it up with a squishy stamper, and press it on your nail. It takes practice, but once you get it, you can do a full set of Halloween nail art in fifteen minutes.

Born Pretty Halloween Nail Stamping Plates
Press On Nails: The No-Skill Option
If you have no time or zero interest in painting, press-on nails are the honest answer. Many brands release Halloween sets in September with pre-done designs like webs, ghosts, and drips.
How to make them last:
- Push back cuticles and buff the nail lightly.
- Wipe nails with alcohol to remove oil.
- Use nail glue, not just the sticky tabs, for a week of wear.
- Press each nail for 30 seconds.
- Avoid water for an hour after applying.
Press-ons are also great for short nails because you can file them down to your natural length.
When to Get Your Halloween Nails Done
This is something nobody tells you. Timing matters.
- Regular polish: Do them one or two days before. Regular polish starts chipping around day four or five, especially black.
- Gel: Get them done seven to ten days before Halloween. Gel lasts two to three weeks, so you get the party and the week after.
- Press-ons: Apply the day before or the morning of.
Since Halloween 2026 is on a Saturday, a Thursday or Friday nail appointment is ideal for regular polish. For gel, the weekend of October 24 works well.
How to Remove Halloween Nails Without Damage
Glitter, black polish, and gel are all harder to remove than a normal pink.
- Glitter: Soak a cotton pad in acetone, place it on the nail, wrap in foil, and wait five minutes. Wipe. Do not scrape.
- Black stains: Buff gently with a fine buffer, then apply cuticle oil. Whitening toothpaste rubbed on the nail also helps.
- Gel: File the shiny top layer off first, then do the foil method for ten to fifteen minutes. Never peel gel off.
- Press-ons: Soak in warm soapy water for ten minutes, then gently lift from the sides.
After removal, use cuticle oil every night for a few days. Your nails will thank you.
Actionable Tips for Better Halloween Nails
- Do your accent nails first while your hands are steady, then the plain ones.
- Thin polish with a drop of polish thinner, not remover, if it gets gloopy.
- Let each layer dry for two minutes before adding art on top.
- Clean up edges with a small brush dipped in acetone.
- Always finish with a top coat, even on matte designs (use a matte top coat).
- Take a photo in daylight. Indoor lighting hides mistakes you will see later.
- If a design fails, cover that nail in glitter. Nobody will know.
Conclusion
Halloween nail ideas do not have to be complicated to look good. Start with a strong black polish, pick one theme, and put the detail on just one or two nails. Cute ghosts and pastel pumpkins work if you want soft. Blood drips and spider webs work if you want spooky. Short nails handle almost all of these designs and often look cleaner than long ones.
Grab a dotting tool, a thin brush, and a good black, and you are set for the whole season. And with Halloween 2026 landing on a Saturday, there is plenty of reason to make this year’s nails count.
FAQs
What are the easiest Halloween nail designs for beginners?
Black French tips, orange and black alternating nails, and a single tiny ghost on a nude base. All three take under fifteen minutes and need no special skill.
What color nails are best for Halloween?
Black is the most popular base. Pair it with orange, white, deep red, purple, or lime green. Burgundy and dark green also work if you want a more subtle look.
Can I do Halloween nail art on short nails?
Yes. Short nails suit small designs like dots, mini French tips, ghosts, and short blood drips. Avoid big 3D charms and full nail scenes.
How long before Halloween should I get my nails done?
One to two days before for regular polish, seven to ten days before for gel, and the day before for press-on nails.
How do I stop black nail polish from staining my nails?
Always apply a clear base coat first. If staining happens, buff lightly and use cuticle oil, or rub whitening toothpaste on the nail.
What tools do I need for Halloween nail art at home?
A dotting tool, a thin liner brush, striping tape, and a good top coat. Stamping plates are optional but make detailed designs much faster.
Are press-on nails good for Halloween?
Yes. They are the fastest option; many come in Halloween designs, and with nail glue they last about a week. You can file them to fit short nails.
What are trending Halloween nail ideas for 2026?
Chrome black, glow-in-the-dark accents, micro French tips, and matte with glossy art on top are all popular this year. Cute Halloween nails like smiling ghosts and cat ear tips remain strong too.






2 Comments
Comments are closed.